HOVER TO PLAY GIF
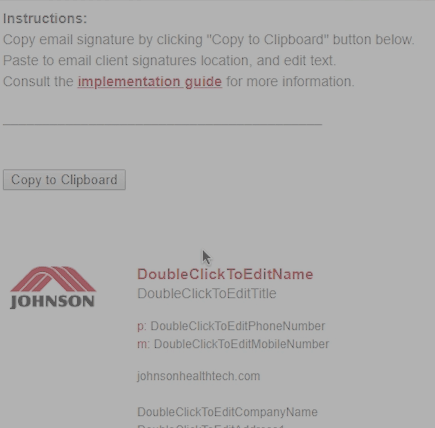
Click button "Copy to Clipboard" to copy signature to system clipboard
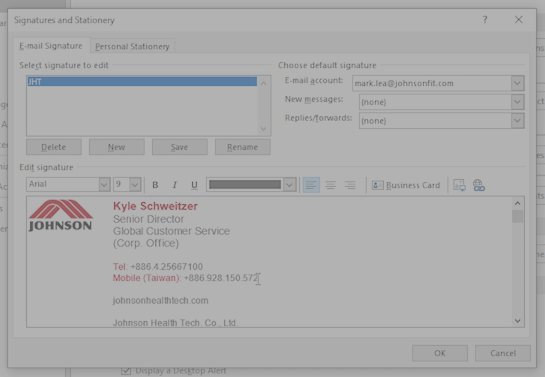
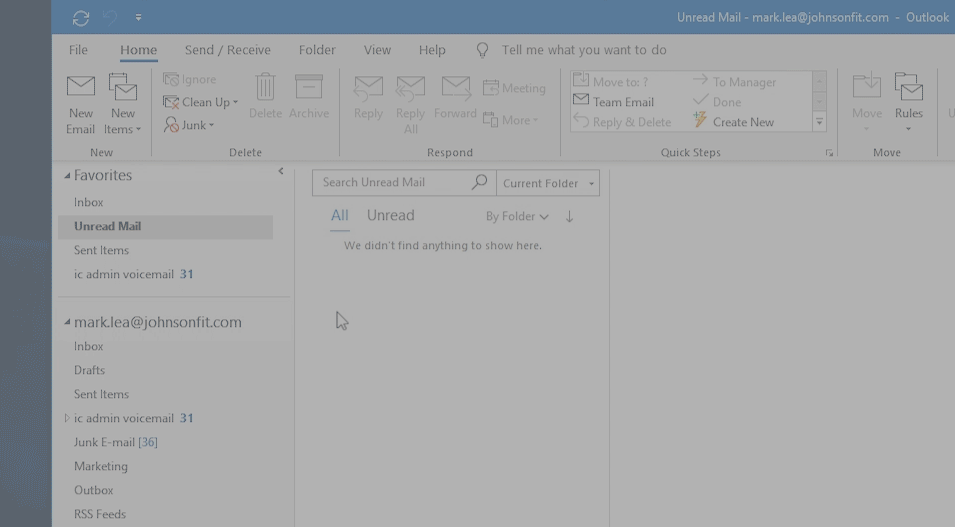
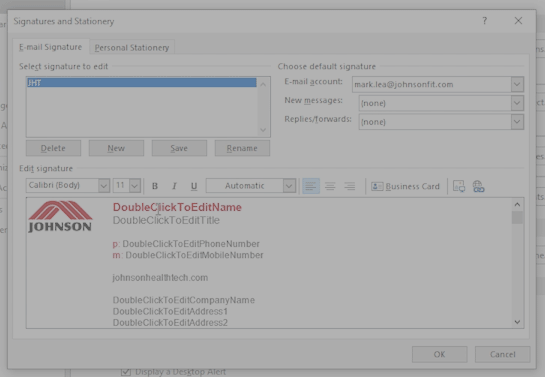
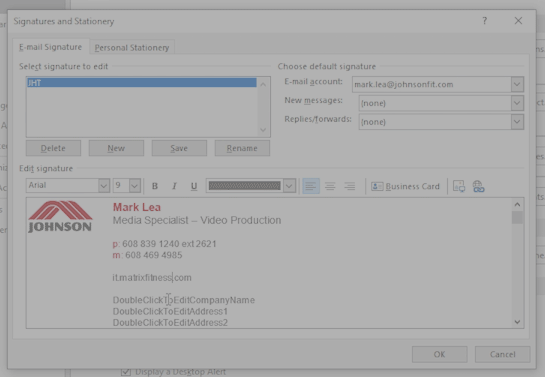
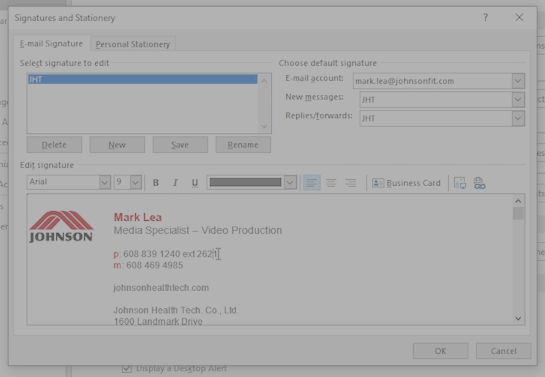
In email client, find location of email signatures
(in Outlook: File -> Options -> Mail -> Signatures... )

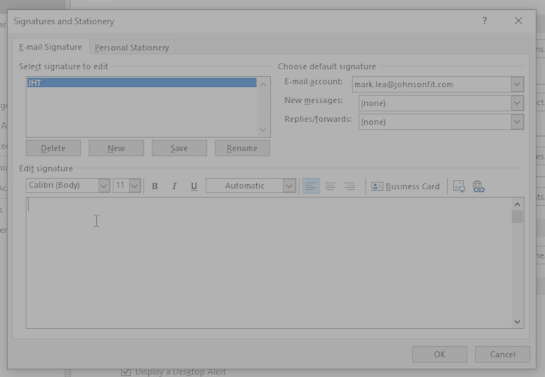
Create new signature (delete old signature if one exists)

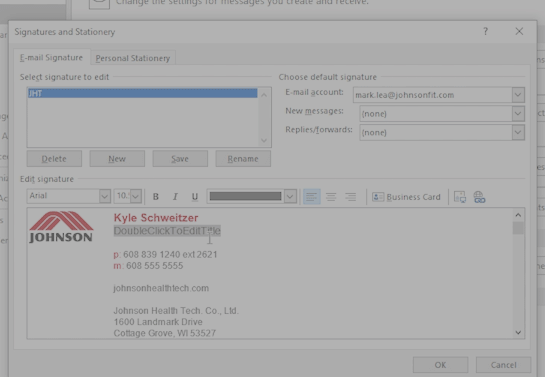
Paste clipboard (right-click and select Paste -> "Keep Source Formatting" if option is available)
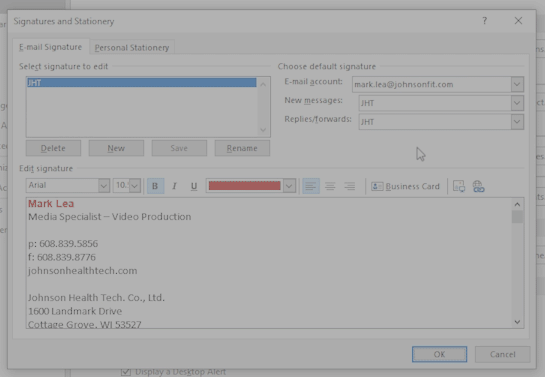
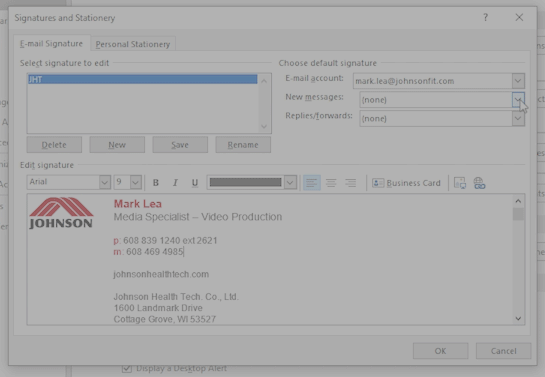
Edit name and title by double-clicking line and typing name, double-clicking and typing title
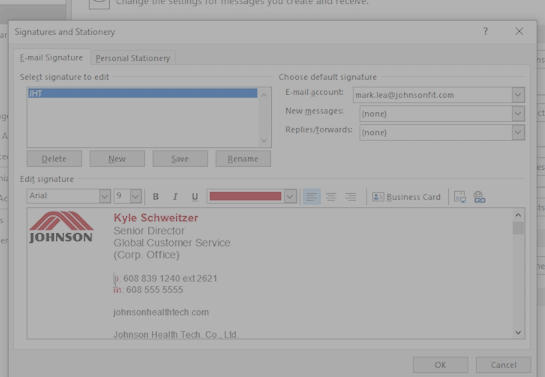
Edit phone number by double-clicking each block of numbers and typing replacement numbers
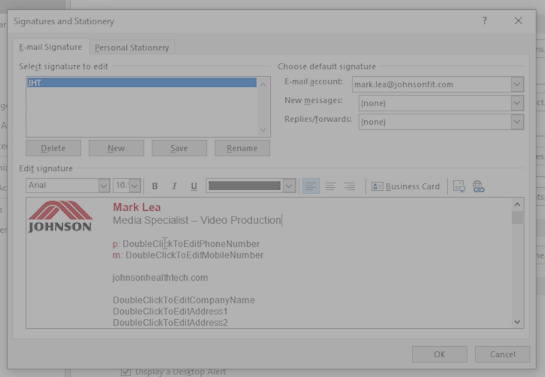
Edit address lines by double-clicking each block and typing replacement text
Set default signature for new messages, and replies/forwards (if necessary)
If no phone extension is needed, carefully select the phone extension and delete, then edit phone number blocks
If only one phone number is needed, carefully select the second phone number line and delete.

If mulitple title lines are needed, enter first line, and use "soft returns" by holding the shift key and pressing return for each new line

If changes to telephone designators are needed, carefully select "p" or "m" to enter new prefix
If more than two phone numbers are needed, carefully select a single phone number line and copy to clipboard (right-click and select "Copy")
Soft Return (shift-return)
Paste clipboard (right-click and select Paste, "Keep Source Formatting" if option is available), and edit line